
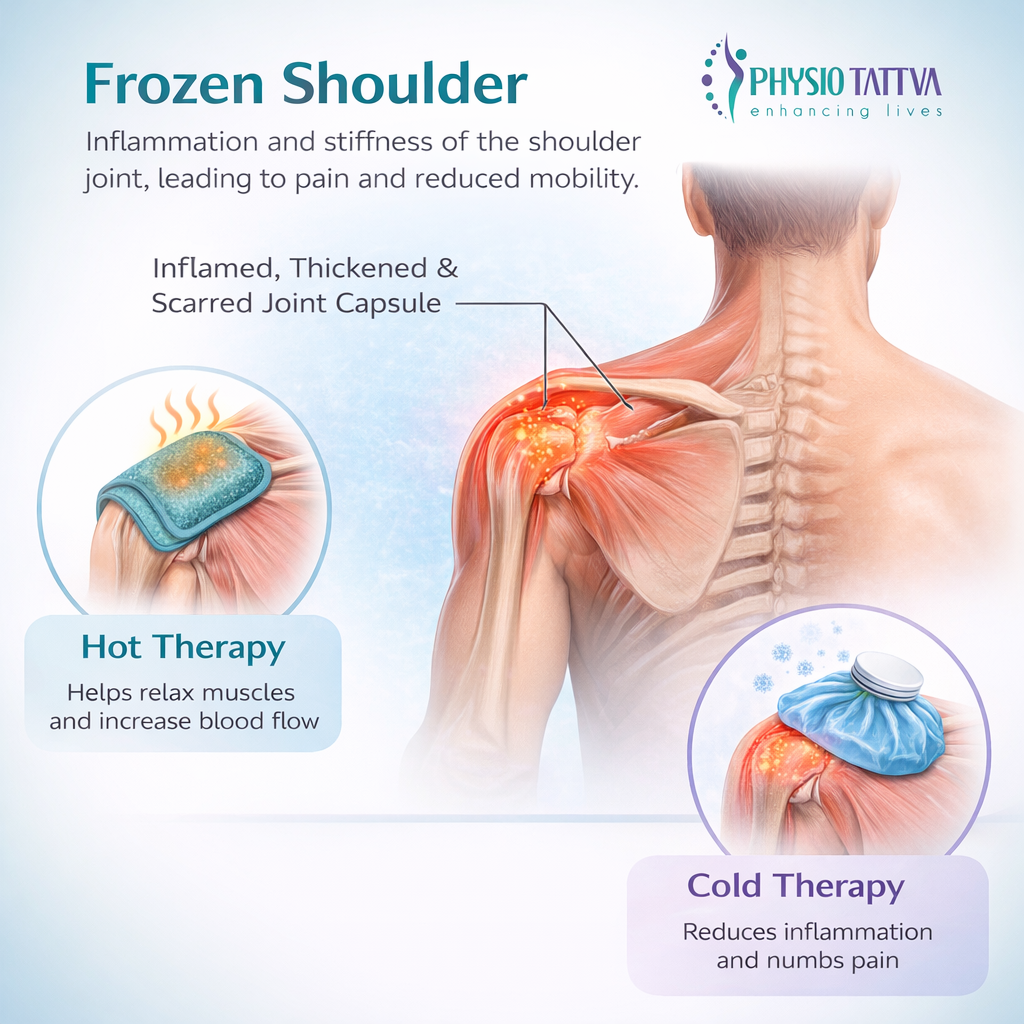
Frozen shoulder, medically known as adhesive capsulitis, is a notoriously painful and frustrating condition. The intense stiffness and limited range of motion can make simple daily tasks feel impossible. While medical treatments are essential, one of the most accessible, affordable, and effective tools for managing symptoms at home is hot and cold therapy.
But the key question is: which one should you use, and when? Using the wrong one at the wrong time can be ineffective or even make symptoms worse.
This article will break down everything you need to know about using hot and cold therapy for frozen shoulder.
Understanding the Stages of Frozen Shoulder
To use hot and cold therapy effectively, it’s crucial to understand the three stages of frozen shoulder, as the best approach changes with each stage:
- Stage 1: The "Freezing" Stage (Painful Phase): Characterized by a gradual onset of sharp, intense pain, especially at night and with movement. Inflammation is a key component of this stage.
- Stage 2: The "Frozen" Stage (Stiff Phase): The sharp pain may begin to subside, but it's replaced by profound stiffness and severely limited range of motion. The pain is often more of a dull ache.
- Stage 3: The "Thawing" Stage (Recovery Phase): The range of motion slowly begins to improve, and stiffness gradually decreases. This stage can last for several months to years.
When to Use Cold Therapy (Cryotherapy) for Frozen Shoulder
Cold therapy works by constricting blood vessels, which helps reduce inflammation, numb nerve endings, and decrease sharp pain.
Think of cold as your "calm down" tool.
Use Cold Therapy For
Cold therapy is most effective when your frozen shoulder feels inflamed, painful, or irritated. Here are the situations where ice works best:
- The "Freezing" Stage: When inflammation and sharp, acute pain are your primary symptoms, cold is your best friend. It directly targets the inflammatory process causing the pain.
- After Activity or Physical Therapy: If you’ve just finished your stretching exercises or a physical therapy session and your shoulder feels inflamed, sore, or aggravated, applying a cold pack can help calm it down and prevent a flare-up.
- Acute Pain Flare-ups: During any stage, if you experience a sudden spike in sharp pain, use cold to get immediate, numbing relief.
How to Apply Cold Therapy
To get the maximum benefit from cold therapy and avoid irritation or skin injury, follow these simple guidelines:
- Tools: Use a gel ice pack, a bag of frozen peas, or ice cubes in a sealed plastic bag.
- Protect Your Skin: Never apply ice directly to your skin. Always wrap the cold pack in a thin, dry towel or cloth.
- Duration: Apply for 15-20 minutes at a time.
- Frequency: You can apply it several times a day, but wait at least an hour between sessions to allow your skin temperature to return to normal.
When to Use Hot Therapy (Thermotherapy) for Frozen Shoulder
Hot therapy works by dilating blood vessels, which increases blood flow to the area. This helps relax tight muscles, decrease stiffness, and soothe deep, aching pain.
Think of heat as your "loosen up" tool.
Use Hot Therapy For
Heat therapy is most useful when stiffness, tightness, or a deep aching sensation becomes your main challenge. Here’s when heat helps the most:
- The "Frozen" and "Thawing" Stages: When stiffness and a dull, persistent ache are your main complaints, heat is more beneficial. It helps improve the elasticity of the joint capsule and surrounding tissues.
- Before Stretching and Exercises: This is one of the most effective uses of heat. Applying heat for 15-20 minutes before you perform your range-of-motion exercises will warm up the shoulder joint, making stretches more effective and less painful.
- General Muscle Soreness and Aches: Use heat to soothe the chronic, aching pain that often accompanies the later stages of a frozen shoulder.
- First Thing in the Morning: Mornings are often the stiffest time of day. A warm shower or applying a heat pack can help ease morning stiffness and get your day started.
How to Apply Hot Therapy
To ensure heat therapy works safely and effectively, follow these simple guidelines before using any heat source:
- Tools: Use a moist heating pad, a microwavable gel pack, a hot water bottle, or take a warm shower or bath. Moist heat is often considered more effective than dry heat.
- Protect Your Skin: The heat source should be warm, not scalding. Wrap it in a towel to prevent burns, especially if using an electric heating pad.
- Duration: Apply for 15-20 minutes.
- Frequency: Use as needed, particularly before any physical activity involving the shoulder.
Integrating Therapy into Your Overall Treatment Plan
Hot and cold therapy is a powerful component of managing frozen shoulder, but it is not a standalone cure. For the best results, integrate it into a comprehensive treatment plan recommended by your doctor or physical therapist, which should include:
- Gentle Stretching: Performing regular, gentle range-of-motion exercises is the cornerstone of recovery.
- Physical Therapy: A professional can guide you through safe and effective exercises.
- Pain Management: Over-the-counter anti-inflammatories (like ibuprofen) can help, especially in the freezing stage.
- Medical Consultation: Always work with a healthcare professional to diagnose your condition and rule out other issues.
By strategically using hot and cold therapy for your frozen shoulder, you can effectively manage your symptoms, make your exercises more productive, and support your journey toward a full recovery.
Supporting Frozen Shoulder Recovery with the Right Hot and Cold Therapy
Managing a frozen shoulder can feel overwhelming, but using hot and cold therapy the right way can make the journey significantly easier. By understanding your stage of recovery and matching heat or ice to your symptoms, you can reduce pain, ease stiffness, and make your stretching and physiotherapy sessions far more effective. Although these therapies are not a cure on their own, they play a crucial role in improving comfort, supporting mobility, and helping you stay consistent with rehabilitation.
If used thoughtfully and consistently, hot and cold therapy becomes a simple yet powerful tool that supports long-term healing and brings you one step closer to restoring full shoulder function.
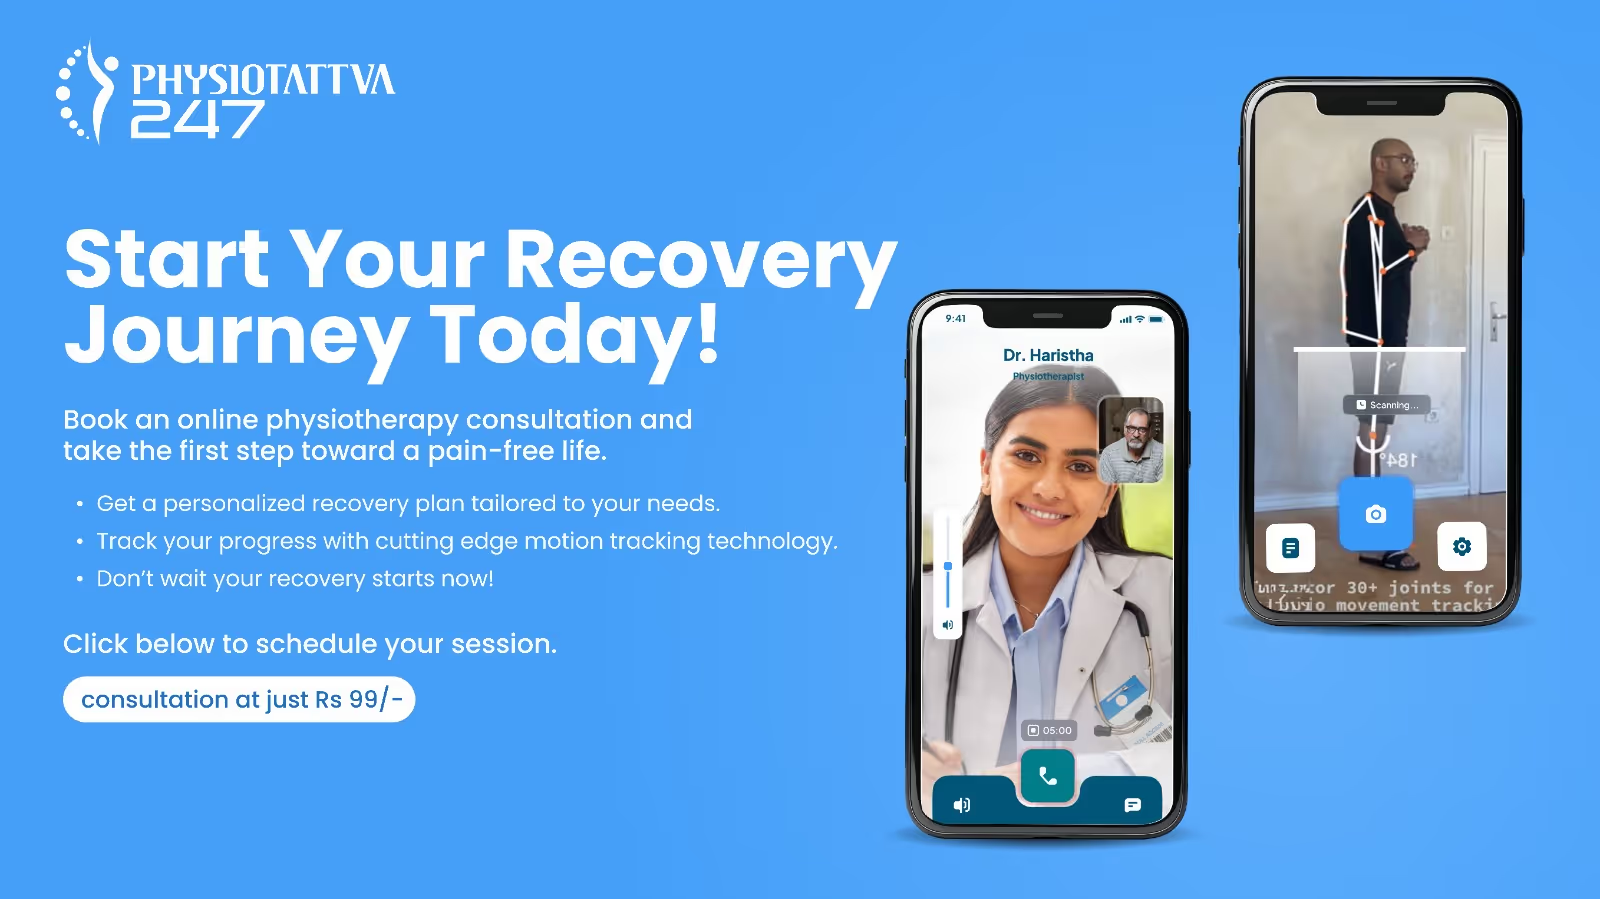
At Physiotattva physiotherapy clinics in Bangalore and Hyderabad, you receive personalised care tailored to your specific needs, ensuring effective results and comfort throughout your journey to recovery.
Don’t wait to start your recovery! Get in touch with Physiotattva for more details! Contact us at +91 89510 47001.
Why Physiotattva?
22+
50,000+
95%
200+
25+
4.8
Cities We Serve

Bangalore
At Physio Tattva, we are committed to bring access to quality physio care through ultra-modern clinics and high-skilled practitioners to all.
.webp)
Hyderabad
At Physio Tattva, we are committed to bring access to quality physio care through ultra-modern clinics and high-skilled practitioners to all.
.webp)
Vishakhapatnam
At Physio Tattva, we are committed to bring access to quality physio care through ultra-modern clinics and high-skilled practitioners to all.


%20(1)-p-3200.jpeg)


.jpg)
.webp)
.webp)
.webp)